For our second milestone in Games Production, the 'vertical slice' grey box had to have been constructed. As I had already modelled simple grey box elements for the first milestone, I set out detailing a major game component; the level's environment.
Before I started constructing the environment base, I tried to find tutorials on how to model and shape a natural landscape; our game being in a rural medieval country. However, I came across scarce content and without knowing it, began modelling inaccurately from a large plane.
After asking my lecturer around the issue, he suggested that I model the terrain in flow with the player's path and route to the end of the level. One way of doing this (saving time not starting from scratch again) was to use the Quad draw tool on top of the previous map using another feature that makes the surface 'live'.
Above is the result of going over my previous environment with the quad draw 'player's path' method. I was very pleased with the smooth results; although it took quite a fair amount of time adding in all the quads and edge loops. Overall the outcome was successful and I also had as a corollary effect, less of a polygon/tris count.
Here is the fixed final map in Maya. Beforehand, with older environments open and enclosed, there were issues surrounding the baking of navigation's around ray-casting (within the game engine Unity).
Nevertheless, I was happy to see that after the topology correction, the navigation mesh worked wonderfully and the player's character could walk up the elevations and across the bridges.
Above is a simple scene in Unity at Uni, testing the map. This basically involved running about the environment and trying the isometric perspective camera settings; while using scripts given to me by the game designers in our group.
The next step involved making DirectX11 Shaders in the Hypershade editor in Maya. To allow the Viewport 2.0 to function as it would look like in-game, I had to switch a few settings around in the Preferences, something of which I had not done in over a year! All that was left to do for the map, was to add attributes such as the TGA image files enabling the texture to be seen in the scene.
Here is a step by step of the progress of one of the trees in our game. I started off from an extended cylinder, adding edge loops and then extruding on the z axis. To give the trees more character, instead of just all perfectly edged branches, I moved some vertices slightly.
I had to create a wide range of trees for our game as the environment is in the country. Here are the nine models I made in a stylized medium topology design.
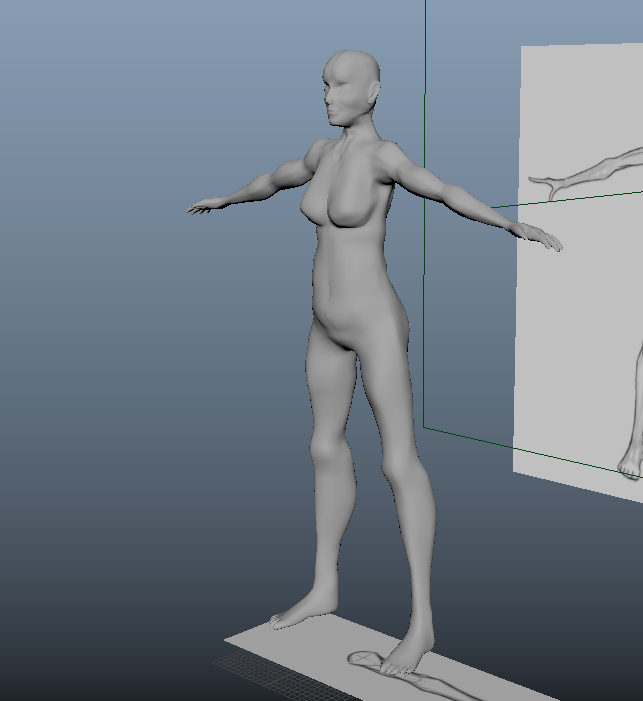
I scaled the trees as roughly as I could against the human height reference. I also made sure to alternate between different perspective views to give the unique characteristics of each tree.
There were many ways in which I could have created the leaves on the trees. As our game will have a stylized approach, I thought of several forms and shapes. After finding an image of a low poly geometry forest, I found a good example in the shape of a sphere.
Towards the elevated section at the end of the vertical slice, the trees scale up to convey the monumental and vast journey of the heroine/character. Above is the large oak tree I made to represent this.
As the season of our game is in autumn, I made sure to include some trees that have no leaves for authenticity.
Something that I learnt at the end of modelling the trees, was I had left the UV unwrapping to the last minute which was a major error in my work flow. This then led to hours and hours of sewing edges and unfolding after automatic unwrapping. This was a good lesson for the future to make sure I work alongside the sub-tasks while building that could crop up and cause trouble.
Above is a diagram of the trees I made together with the examples below them. Although this part of the modelling was very challenging I taught myself a lot from it for later constructing.


